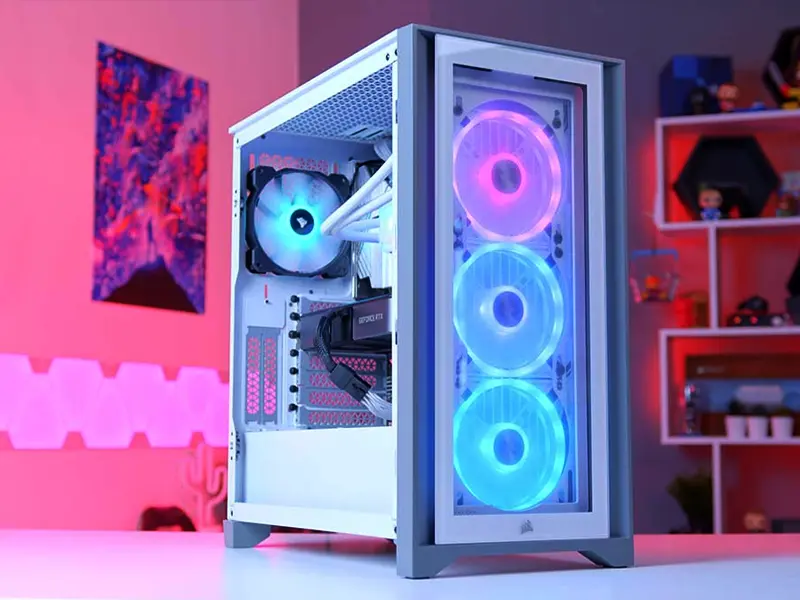
In the world of PC gaming, building your own custom machine stands as a badge of honor, a testament to your dedication to crafting the ideal gaming experience. While it may seem daunting at first, the process of assembling your own PC is surprisingly achievable, offering a blend of challenge, satisfaction, and ultimate control over your gaming destiny.
1. Laying the Foundation: Setting a Budget and Defining Needs
Before embarking on your PC-building journey, it’s crucial to establish a clear budget and define your specific gaming requirements. Consider the games you intend to play and the desired performance level. This will guide your component choices and ensure you maximize the value of your investment.
2. The Heart of the Machine: CPU and GPU Selection
The CPU (Central Processing Unit) and GPU (Graphics Processing Unit) are the cornerstones of your gaming PC, responsible for handling the game’s processing and graphics rendering, respectively. Choose a CPU that can seamlessly handle the demands of your chosen games, and pair it with a GPU that delivers the visual fidelity you desire.
3. The Backbone: Selecting the Right Motherboard
The motherboard serves as the foundation of your PC, connecting all the essential components. Select a motherboard compatible with your CPU and offers sufficient expansion slots for future upgrades.
4. Memory Matters: Ensuring Smooth Gameplay with RAM
RAM (Random Access Memory) acts as a temporary storage for data that the CPU needs to access quickly. Choose sufficient RAM capacity to handle the multitasking demands of modern games.
5. Storage Solutions: Striking a Balance
An SSD (Solid State Drive) provides blazing-fast storage for your operating system and frequently used games, while a larger HDD (Hard Disk Drive) offers ample storage for your game library and other files.
6. Powering Your Creation: The Role of the PSU
The power supply unit (PSU) delivers the necessary power to all your components. Choose a PSU with sufficient wattage to handle the power draw of your system.
7. The Assembly Process: Bringing It All Together
With the components in hand, it’s time to assemble your custom gaming PC. Follow the motherboard manual and online guides carefully to ensure proper installation.
8. Software Setup: Unleashing the Potential
Once assembled, install your chosen operating system and download the latest drivers for your hardware components.
9. Optimization and Tweaking: Perfecting Your PC
Fine-tune your system’s performance by adjusting settings in your operating system and graphics card control panel.
10. Reap the Rewards: Enjoy the Fruits of Your Labor
Immerse yourself in the smooth, high-performance gameplay you’ve crafted, reveling in the satisfaction of building your own custom gaming PC, a testament to your dedication and expertise.
